SnapTara Blog
What to Photograph at Home When You Can't Go Out
You do not need to go anywhere to make a good photograph. When you are stuck at home, the strongest subject in the house is a small still life built beside your brightest window from objects you already own. Give those objects one shared colour and the picture stops looking like a pile of random things and starts looking deliberate. Window light does the rest of the work for you.
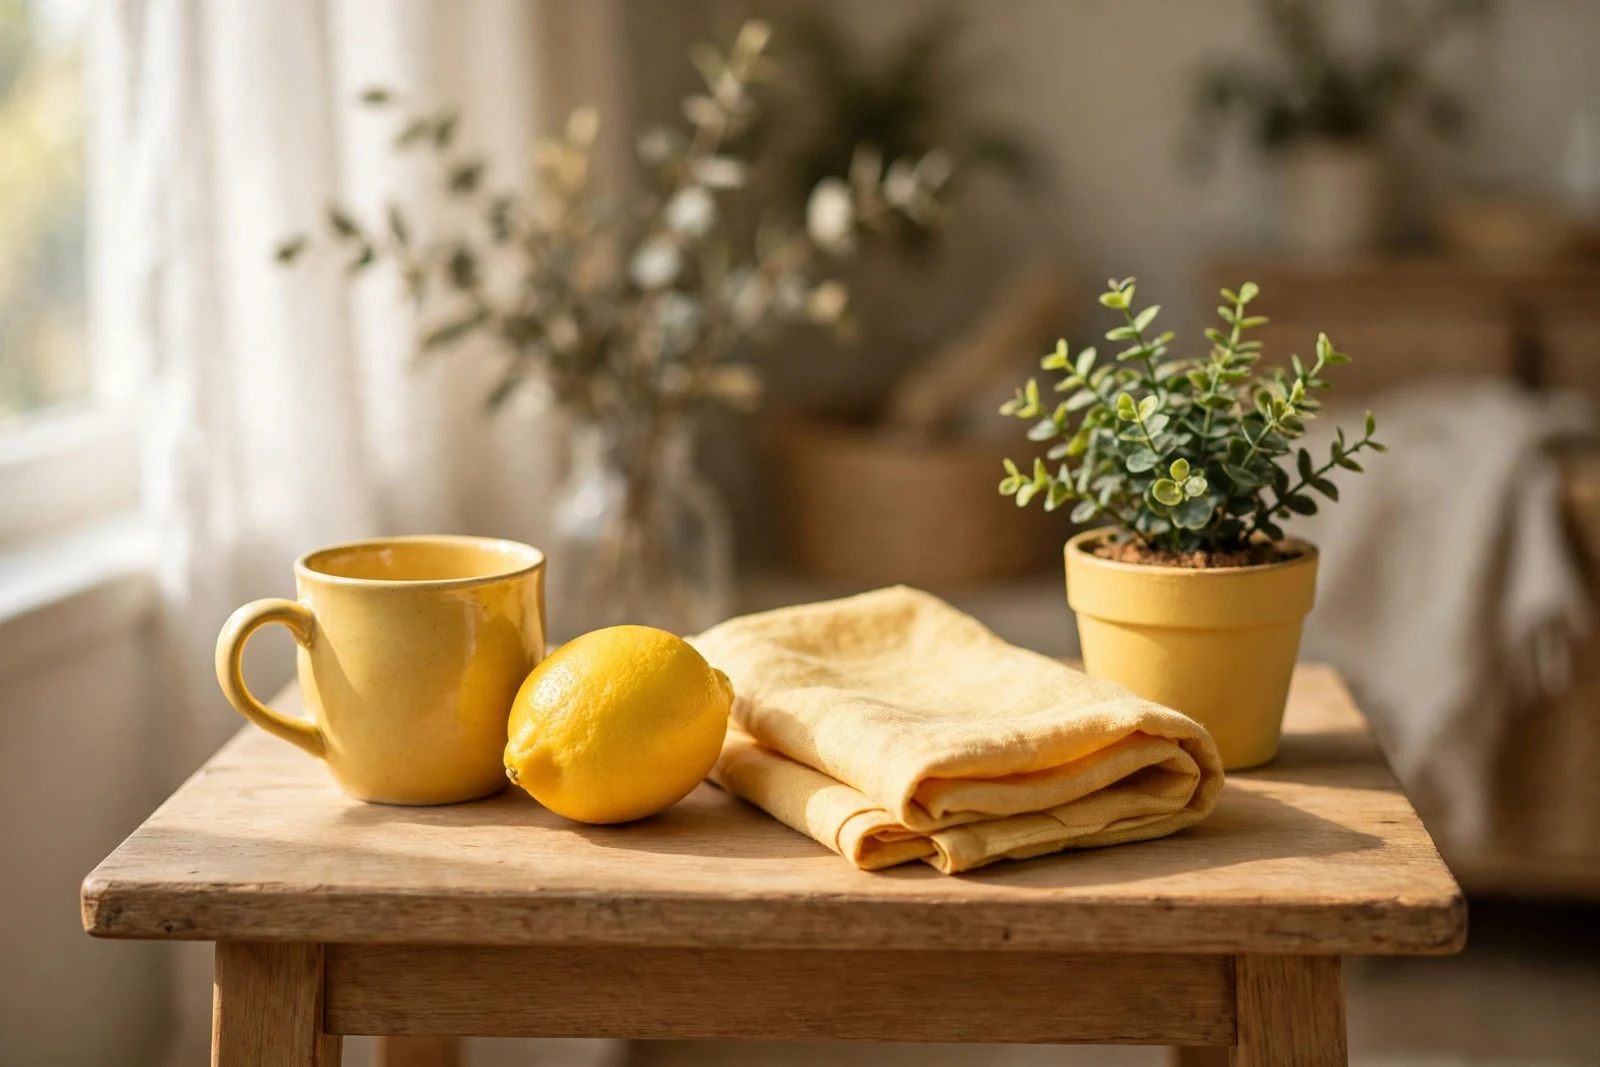
The idea
Choose one colour you can find all through your home, such as yellow, blue, white or wood brown, and gather three to five everyday objects in that colour. A mug, a piece of fruit, a folded cloth, a book and a small plant all count. Set a small table or a board right beside a bright window, arrange your objects on it in a loose triangle, and spend one hour photographing only that small scene. Move one object at a time, turn the table once, and shoot from standing height, from table height and from directly above. One short prompt sums up the whole shoot: photograph only yellow objects by a window for one hour. The colour limit sounds strict, and that is the point. It makes your choices for you, it ties objects that have nothing in common into one calm picture, and it trains your eye to notice colour and texture before you reach for a bigger subject.
How to capture it
Where and when
Work beside the largest window you have, ideally in the morning or in the late afternoon when the light comes in at an angle and shows the shape of each object. Place the table as close to the window as you can so the light stays strong and falls from one side. Turn off the ceiling lights and any lamps in the room, because indoor bulbs add a yellow cast and create a second set of shadows that fight the window light. If the sun is harsh and the shadows look hard and black, hang a thin white curtain or a pale sheet across the window to soften the light without losing its direction. Keep the background simple: a plain wall, a plain cloth or a large piece of card behind the table will stop the room from stealing attention from your objects.
Settings
On a phone, use the main lens and stay close rather than zooming in, because zoom softens the fine texture that makes a still life worth looking at. Tap on the brightest object to focus and set exposure, then slide the exposure down a small amount so the colours stay rich and the bright cloth or mug keeps its detail. Press and hold to lock focus and exposure while you rearrange the scene, and keep the flash off at all times. Turn the grid on to help you place the main object off centre, and take a plain frame first before you try any portrait mode, because portrait mode often blurs the edges of mugs and plants in a way that looks odd up close. On a camera, use aperture priority with an aperture of f/4 to f/8 so most of the group stays sharp while the room behind falls soft, and keep the ISO between 100 and 400 for clean files. If the shutter speed drops below about 1/60, rest the camera on a stack of books or use a tripod and a timer so your hands do not shake the frame. Set the white balance to daylight or cloudy and leave it fixed, so the colour you chose stays true from the first frame to the last.
Composition
Odd numbers read better than even ones, so work with three or five objects and give them different heights. Stand one object tall at the back, lay one flat in the front, and let the rest sit between them so the group forms a rough triangle. Leave a small space around the group so it can breathe, and check that no object touches the edge of the frame unless you meant it to. Shoot the same arrangement from at least three heights before you move anything: straight on at table height for the classic still life look, from above for a flat graphic picture, and from a low angle so the window light rakes across the surface and shows every texture. Change only one thing between each set of frames. Swap the order, remove one object, or turn the fruit a quarter turn. Small changes teach you fast what the picture was missing, while a full rebuild teaches you nothing.
Mistakes to avoid
- Using every object you own. A crowded table gives the eye nowhere to land and turns a calm idea into a storage problem. Five objects is a generous limit, and three is often stronger.
- Leaving the room lights on. Mixed light from a window and a ceiling bulb creates clashing colours and messy double shadows. One light source, the window, keeps the picture clean and calm.
- Photographing the scene once and stopping. The first frame is a test, not the picture. Work the same small setup through many angles and small moves, and the good frame usually arrives well after the obvious one.
Variations to try
- One texture only: keep the same window and table, but build the next group from objects that share one texture instead of one colour, such as only rough things like wood, bread and woven cloth, or only smooth things like glass, ceramic and fruit skin.
- Same scene, three times of day: leave your favourite arrangement in place and photograph it in the morning, at midday and in the last light of the day. The objects do not change at all, and the three pictures will look like three different rooms.
- Dark background: swap the pale wall or cloth for a dark board or a dark blanket behind the table. The window light will shape the objects out of the dark, and the same mug and fruit will feel quiet and moody instead of bright and fresh.
If small subjects at home hook you, the Still Life and Macro Challenge on the homepage builds exactly this habit: ten days of prompts about objects, texture and light, all of them doable at one table by one window.
Want another idea like this one? The free SnapTara generator on the homepage hands you a fresh photography prompt in seconds, drawn from more than a thousand hand written assignments, and its themed Challenges turn a single idea into a week or a month of shooting.
Get a photography prompt